
So, you’ve heard the buzz about React Native. The promise of writing code once in JavaScript and deploying it as a true native app on both iOS and Android is incredibly powerful. But getting started can feel like a maze of tools, commands, and configurations.
Don't worry! This guide is here to cut through the noise. We'll walk you through the absolute easiest way to get your first React Native application up and running on your own phone. By the end of this post, you'll have a working app and a solid foundation to start your mobile development journey.
Let's dive in!
The Big Decision: Expo Go vs. React Native CLI
Before we install anything, you need to know about the two main paths for React Native development:
Expo Go: Think of this as the "easy mode" for React Native. It's a framework and a set of tools built around React Native that handles all the complicated native configuration for you. You can build and run apps on your phone just by scanning a QR code. It's perfect for beginners.
React Native CLI: This is the "pro mode." It gives you full control and allows you to write your own custom native code (in Swift/Kotlin), but it requires a much more complex setup involving Xcode (for iOS) and Android Studio.
Our Recommendation for Beginners: Start with Expo Go. It has the shallowest learning curve and lets you focus on learning React itself. We will be using the Expo Go method for this guide.
Prerequisites
You only need two things to get started:
Node.js (LTS version): A JavaScript runtime that lets you run JavaScript on your computer.
A Code Editor: We highly recommend Visual Studio Code (VS Code). It's free, powerful, and has amazing support for React Native.
Step 1: Install Node.js
Node.js comes with npm (Node Package Manager), which we'll use to install everything else.
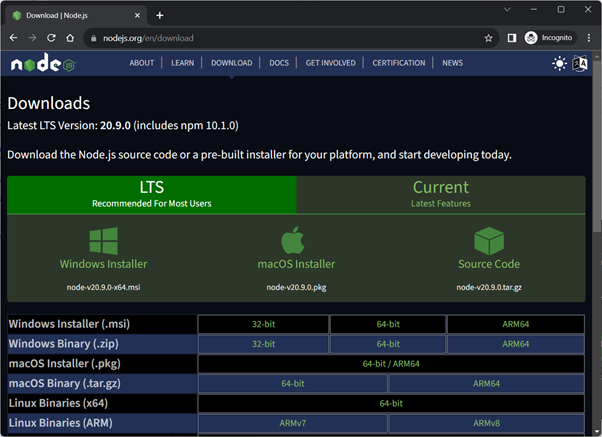
Go to the official Node.js website.
Download the LTS (Long Term Support) version. This is the most stable version.
Run the installer and follow the on-screen instructions.
To verify the installation, open your terminal (or Command Prompt on Windows) and type these commands:
Generated bash

You should see version numbers appear for both. If you do, you're good to go!
Step 2: Create Your First React Native App
This is where the magic happens! We'll use a single command to create a new project folder with all the necessary files.
Open your terminal, navigate to the directory where you want to store your projects (like Documents or a dedicated Projects folder), and run the following command:
Generated bash
npx is a tool that comes with npm and runs packages without installing them globally.
create-expo-app is the official command to create a new Expo project.
MyFirstApp is the name of our project. You can name it whatever you like!
The process will take a minute or two as it downloads the template and installs the required packages.
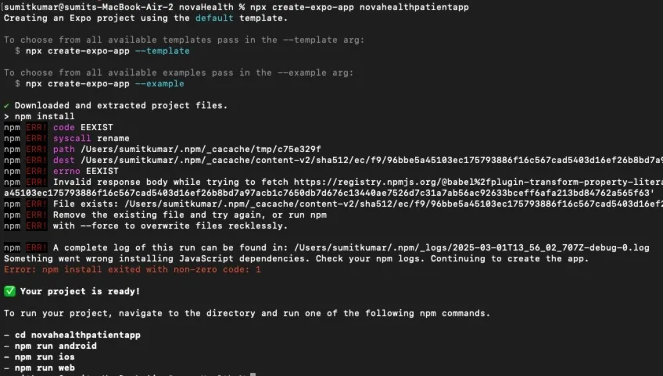
Once it's done, navigate into your new project directory , run above commands.
Step 3: Run the Application
Now for the moment of truth! While inside your project folder (MyFirstApp), run this command in the terminal:
This command starts the Metro Bundler, which is a JavaScript bundler for React Native. After a few seconds, your terminal will display a large QR code and some options.
This screen is your development server. Keep this terminal window open while you are working on your app.
From here, the world is your oyster. You can start exploring how to add more components, create new screens, and build the app of your dreams.
Happy coding


